Vapor 是一個用 Swift 程式語言開發的 Web Framework,可運行在 macOS 跟 Linux 上,如果想在 Windows 上開發 Vapor Web 應用程式,則可以透過 WSL (Windows Subsystem for Linux) 來使用,本文要介紹如何在 WSL 上設定 Vapor 開發環境。
安裝 VS Code:
開發上使用的編輯器是 VS Code,先安裝好 VS Code,然後在 VS Code 裡安裝微軟的 Remote Development 擴充套件。
安裝 Ubuntu 22.04 WSL:
在 Microsoft Store 裡搜尋 “Ubuntu”,找到 Ubuntu 22.04 並安裝之。
在 Ubuntu 22.04 WSL 裡安裝 Swift:
在 Windows 的 C 槽下建立一個 linux 資料夾,然後到 Swift 官網下載 Swift 的安裝包,把安裝包複製到 C:\linux 資料夾裡。
執行 Ubuntu 22.04 WSL,然後切換到 /mnt/c/linux 資料夾:
$ cd /mnt/c/linux解壓縮 Swift 安裝包:
$ tar xzf swift-5.7.2-RELEASE-ubuntu22.04.tar.gz把解壓縮出來的資料夾移動到 /usr/share/swift:
$ sudo mv swift-5.7.2-RELEASE-ubuntu22.04 /usr/share/swift編輯 .bashrc 檔案:
$ nano ~/.bashrc在 .bashrc 裡的最後一行,加入:
export PATH="/usr/share/swift/usr/bin:$PATH"然後重新載入 .bashrc:
$ source ~/.bashrc檢查 Swift 版本:
$ swift --version
Swift version 5.7.2 (swift-5.7.2-RELEASE)
Target: x86_64-unknown-linux-gnu
在 Ubuntu 22.04 WSL 裡安裝 Vapor:
執行 Ubuntu 22.04 WSL,下載 Vapor toolbox:
$ git clone https://github.com/vapor/toolbox.git
$ cd toolbox
checkout 想要的 toolbox 版本 (可以在 Vapor toolbox Releases 頁面查看有哪些版本):
$ git checkout 18.6.0編譯 toolbox:
$ swift build -c release --disable-sandbox把編譯出來的執行檔移動到 /usr/local/bin:
$ mv .build/release/vapor /usr/local/bin建立第一個 Vapor 應用程式:
執行 Ubuntu 22.04 WSL, 輸入以下指令:
$ mkdir ~/vapor_apps
$ cd ~/vapor_apps
新增 HelloVapor 應用程式:
$ vapor new HelloVaporvapor 會詢問是否要使用 Fluent 跟 Leaf,都輸入 n 按 Enter。
接著用 VS Code 開啟專案資料夾:
$ cd HelloVapor
$ code .
在 VS Code 裡,安裝 SSWG 的 Swift 語言支援擴充套件 (安裝到 WSL):
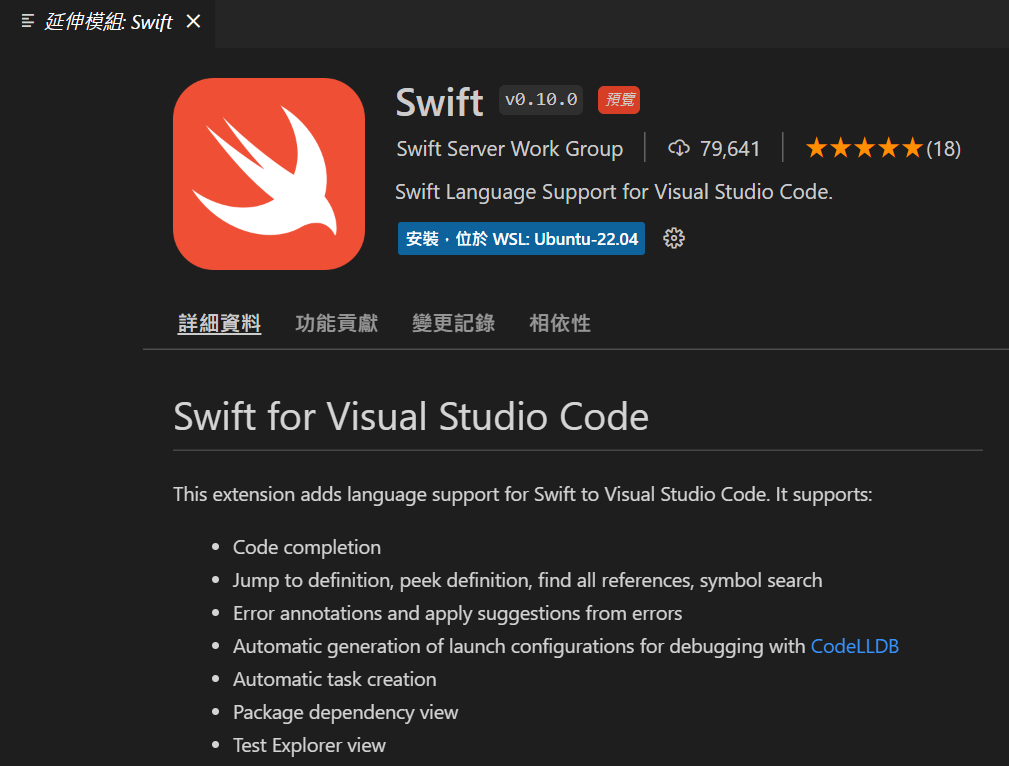
執行應用程式:
在 VS Code 裡按下 F5 執行應用程式,並用網頁瀏覽器開啟 http://localhost:8080/hello:
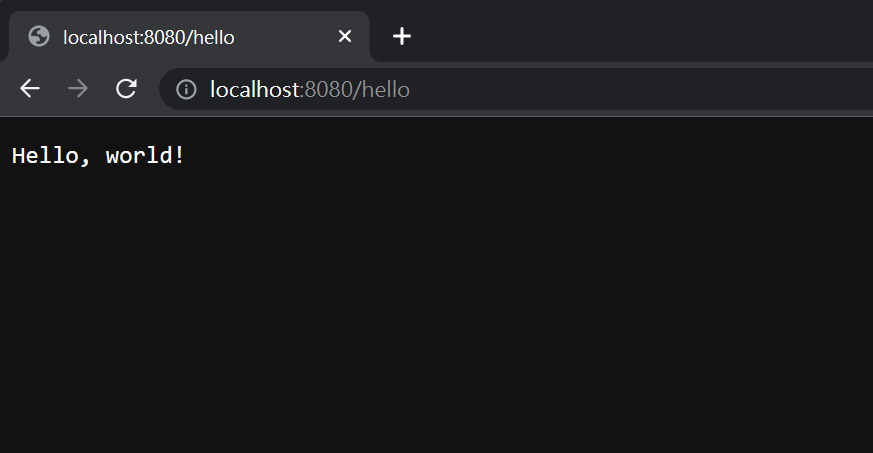
看到這個 “Hello, world!” 的執行畫面,就表示成功運行 Vapor 應用程式了!